

How To Create Own Stylus Pen
Make your own stylus with just 4 household items (honestly)
You may not realise that it's possible to make your own stylus for your iPad or tablet. Well, we're happy to report that it is a thing. We're not suggesting that this DIY homemade stylus will be more capable than a real Apple Pencil (or other legitimate stylus) available to buy for your tablet, but improvising is an adventure, right?
What's great is that you've probably got all the necessary items in your home already. You'll need to scavenge for just four items: a pen (biro or ballpoint, it just needs to have a removable ink cartridge), a cotton bud, Q-tip or cotton wool, some tin or aluminium foil and some tape.
This guide sets out two different methods for creating your own stylus – one using a cotton bud/Q-tip, and the other using cotton wool. That first way is the simplest, but if you choose the second option, it works best if you have a metal-cased pen or a pen with a metal tip (skip straight to the cotton wool method if that appeals more).
Note that we are absolutely not responsible for any damage that you incur to either your pen, cotton wool, tablet, or yourself. So go steady and watch those fingers, and that tablet, and keep your homemade stylus away from the internal plugs of your tablet. If you'd rather have something a little less homemade, then see our picks for the best iPad stylus and best Android stylus.
Make your own stylus using a cotton bud or Q-tip
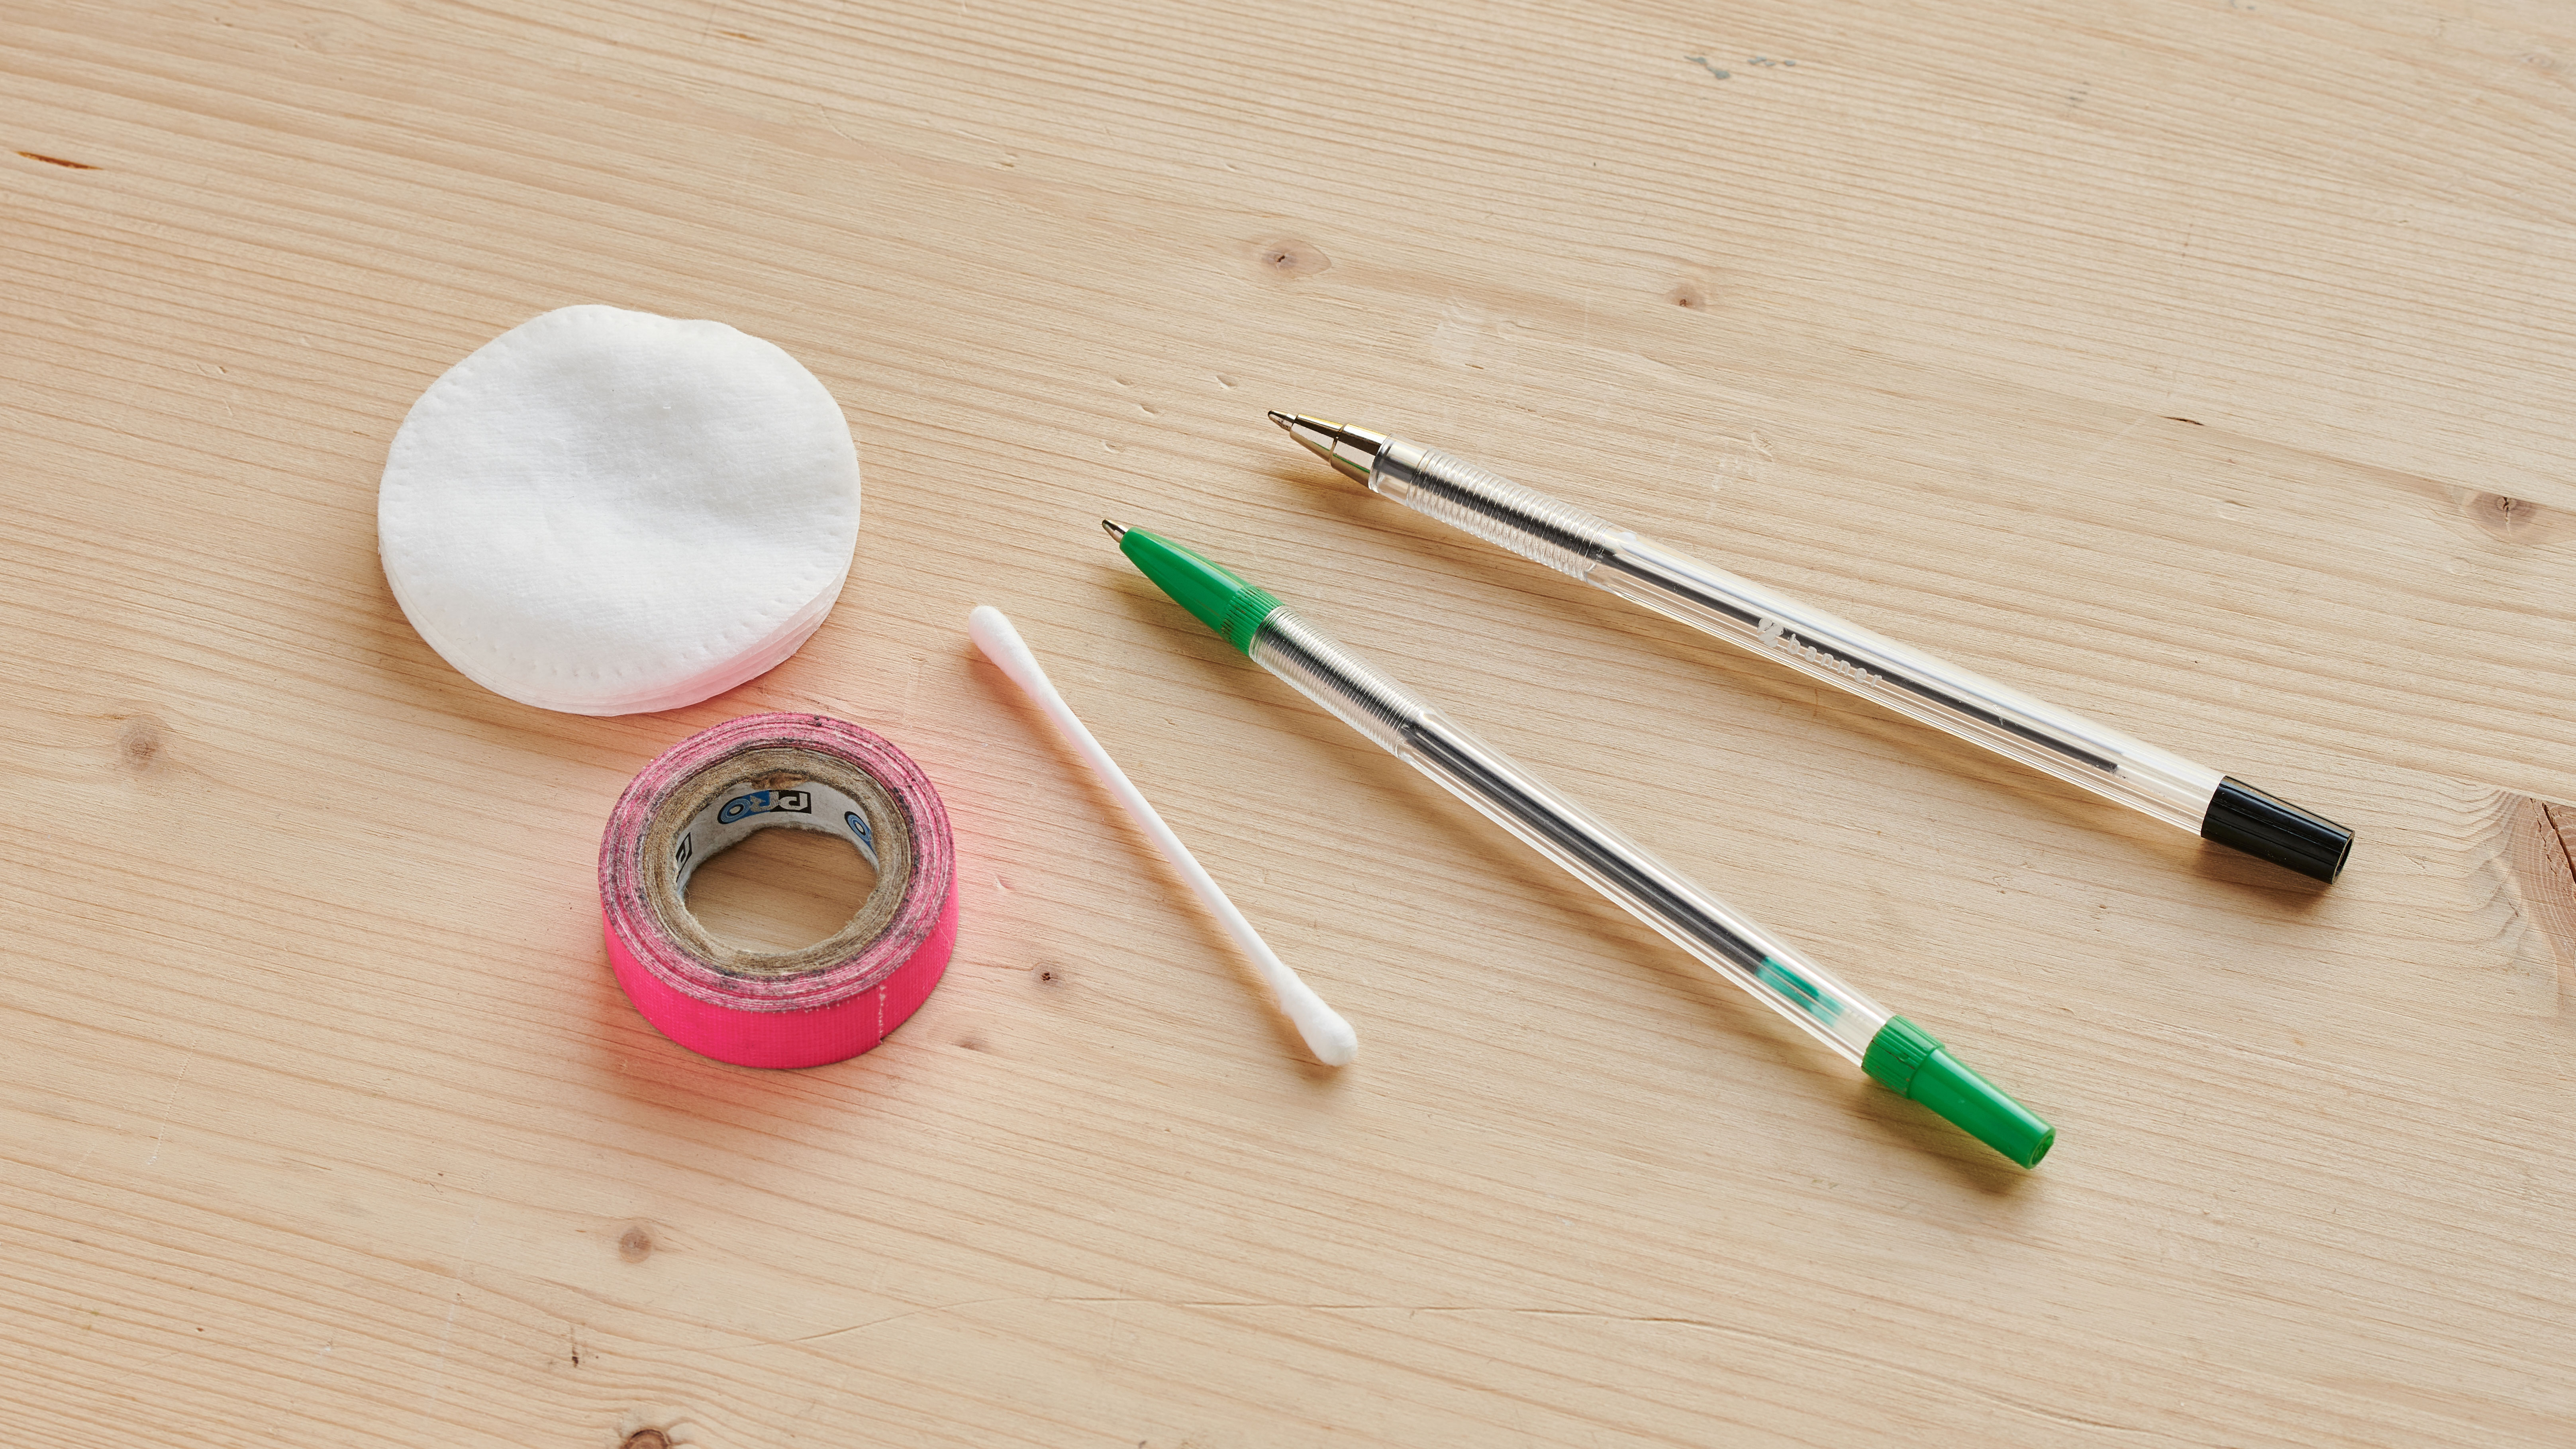
01. Prepare your materials

(Image: © Olly Curtis)
Remove the ink cartridge from your pen, leaving a hole where the pen nib would be. Take your cotton bud and cut diagonally about 100mm from the end of one of the buds with a pair of scissors or a craft knife (carefully).
02. Insert cotton bud tip into pen
(Image: © Olly Curtis)
With your ink cartridge removed from the pen, push the cotton bud into the tip of the pen where the nib normally sits. This can be tricky, so you may need to play around with the size of the remaining stem of the bud.
03. Reassemble the pen and wrap in foil

(Image: © Olly Curtis)
Once secure, screw the pen back together. Wrap the tin or aluminium foil around the pen making sure the foil is making contact with the cotton bud tip. Use some tape to secure the foil.
04. Dampen the tip of your stylus
Now you need to dampen the tip a little to make the pen conductive. Dip the tip in water and squeeze off the excess, you only need the tip to be damp, not soggy, and you don't want to get water on your tablet. And there you have it, your very own stylus! If it stops working and is dry to the touch, you can try dampening it again.
Make your own stylus using cotton wool
01. Dismantle your pen and cover the casing in foil

(Image: © Olly Curtis)
Start by dismantling your pen. If the case of your pen isn't metal, then cover the casing in tin foil, and secure with tape.
Tear off a small piece of cotton wool and feed it through the pen nib hole. With the cotton wool poking through the hole, push the ink cartridge back into the tip of the pen – this will help secure the cotton wool.
You may need to experiment with the amount of cotton wool you're using, too much and you won't be able to push the nib back in, too little and the pen nib won't be covered and will break through the cotton wool.
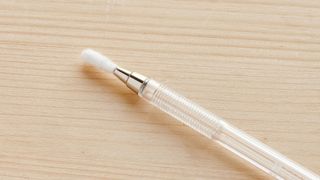
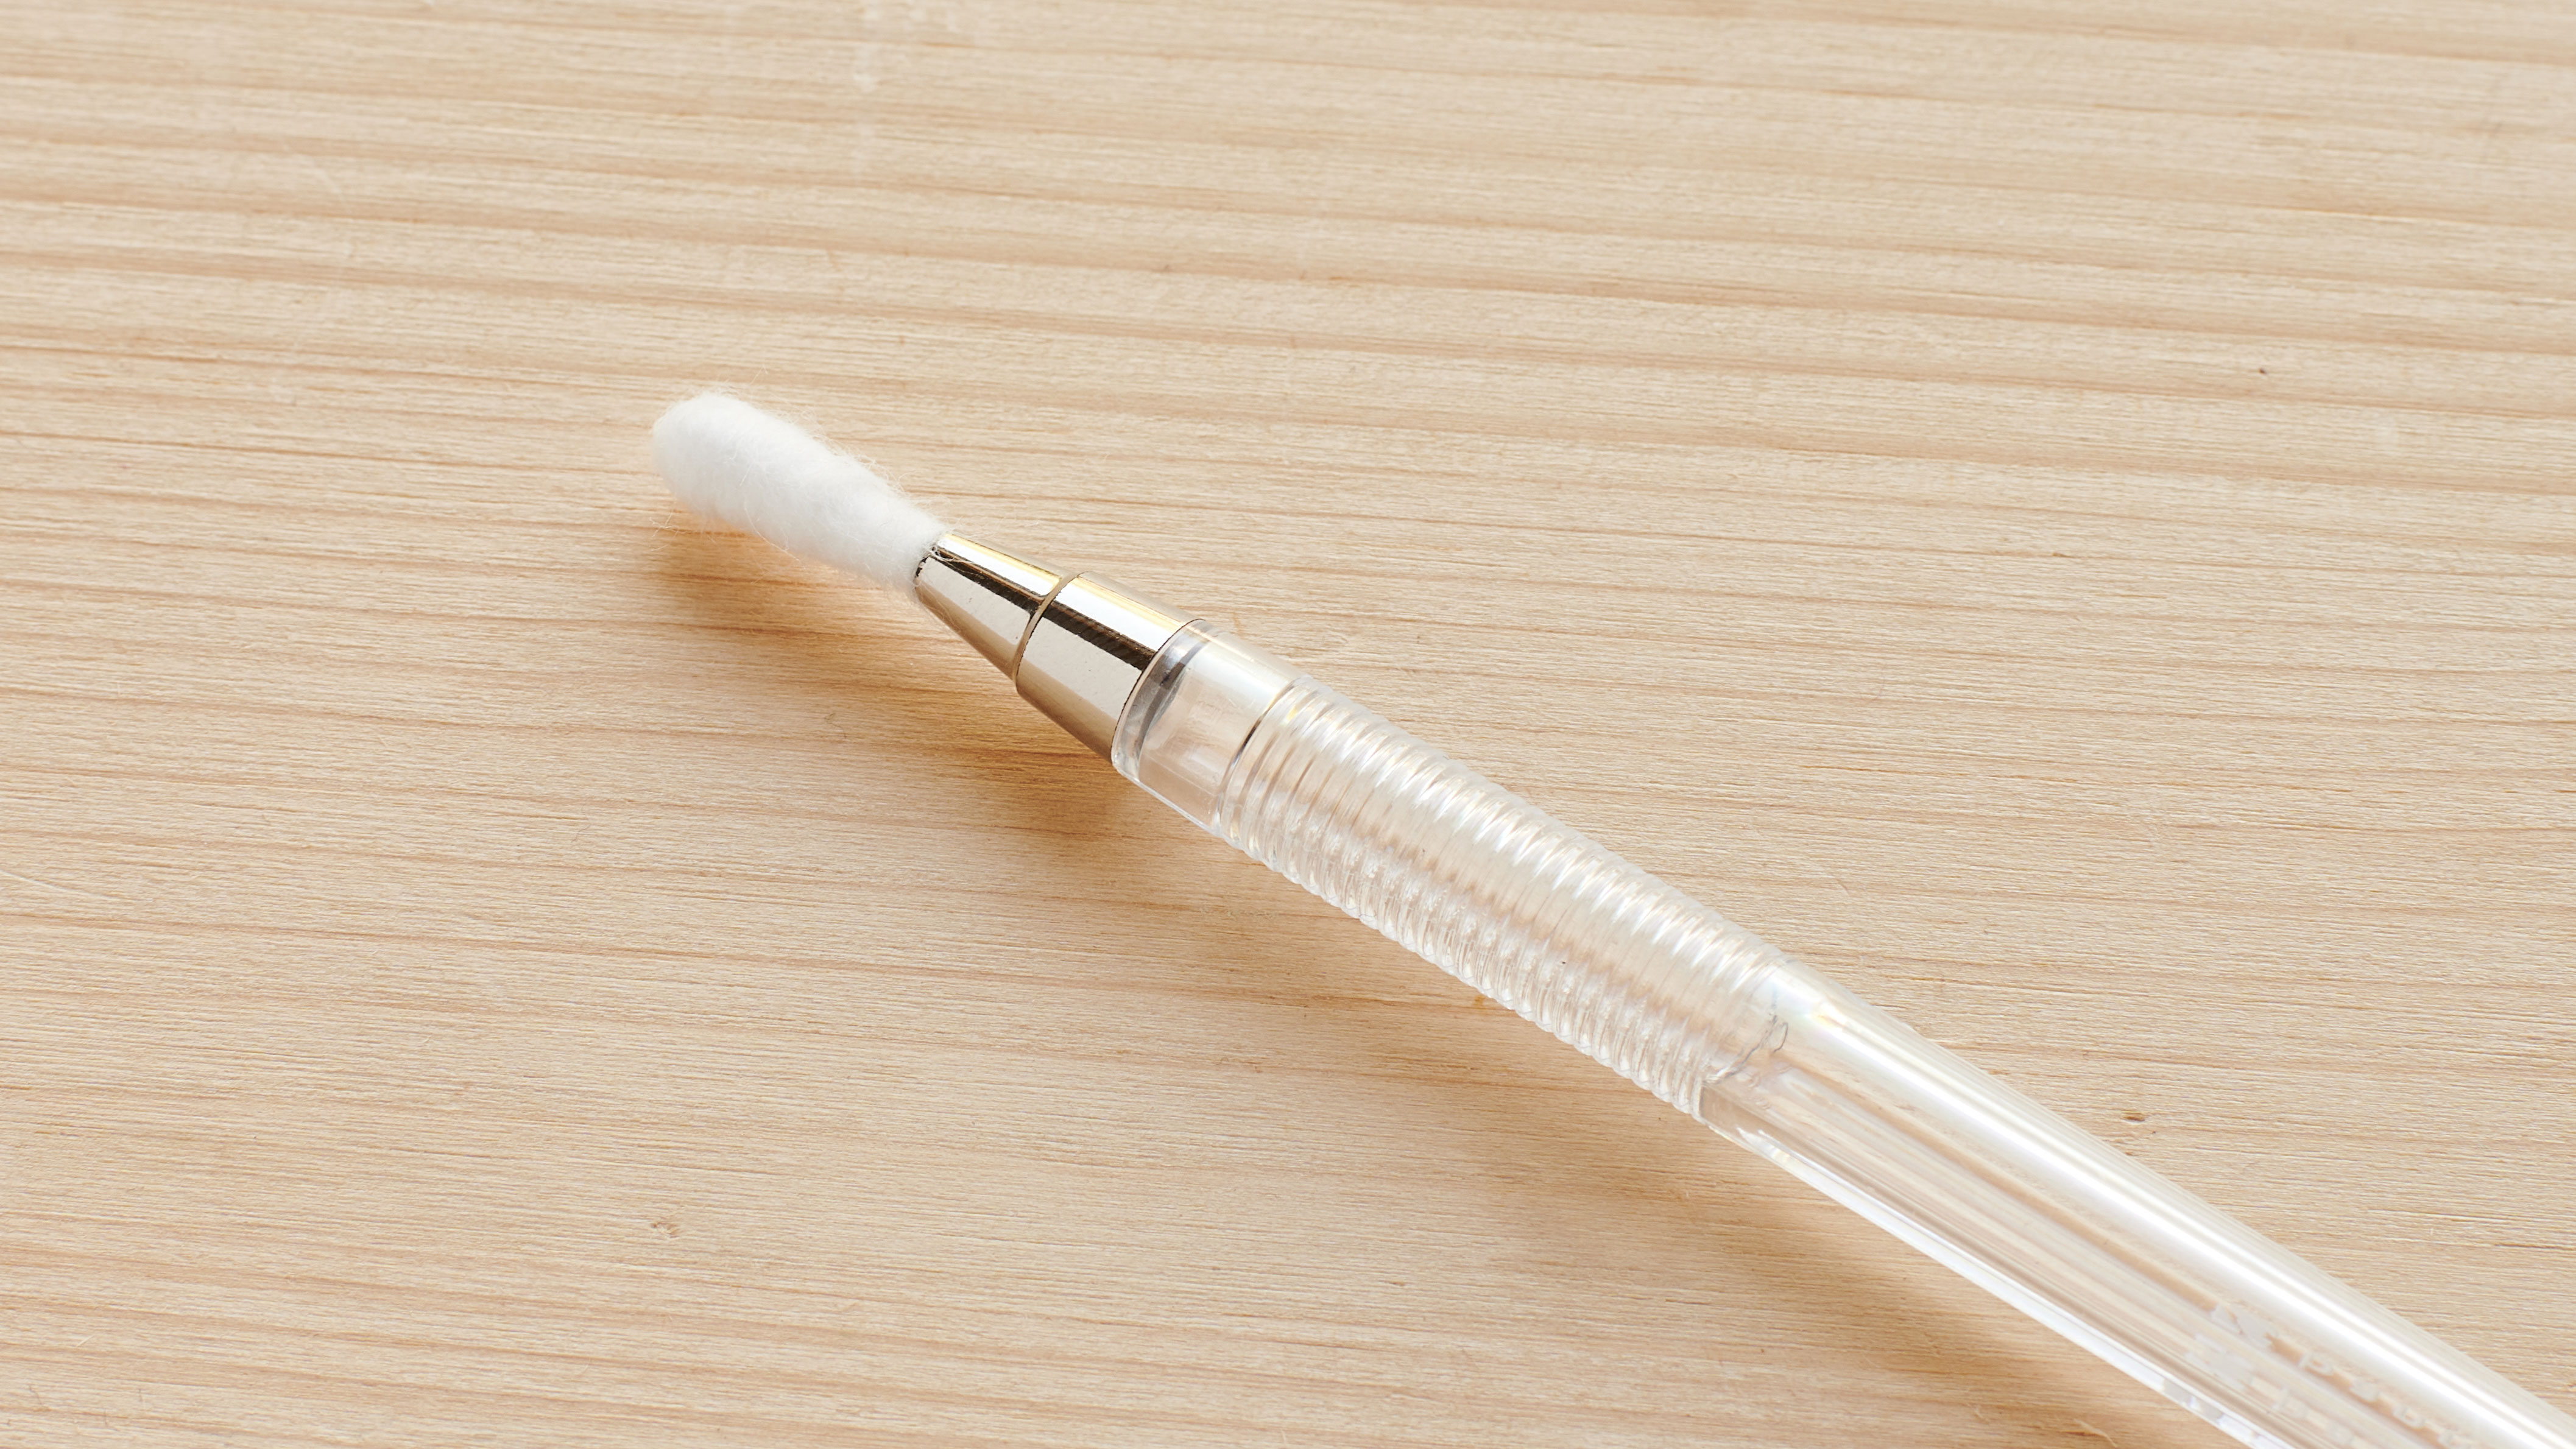
02. Reassemble the pen

(Image: © Olly Curtis)
Reassemble the pen, screwing the top back on and then the bottom. It's better to have the tip of the pen fully secure and leave a gap at the bottom, otherwise the cotton wool causes a bit of an obstruction. You can always trim the cartridge if it's poking out of the bottom and the pen won't screw back together.
Shape the cotton wool nib with scissors, dampen the tip with a small amount of water (not too much), and start using your very own stylus. If it stops working at any point and the tip is dry, you can dampen it again to revive it.
Did this technique work for you? Share your homemade stylus creations with us via Twitter or Facebook.
If you'd rather leave stylus making to the experts, see today's best deals below.
Read more:
- Best iPad stylus: It doesn't have to be all about Apple
- Best drawing tablet: Our pick of the best graphics tablets
- Best drawing tablets for kids: Get your small ones creating
Related articles
How To Create Own Stylus Pen
Source: https://www.creativebloq.com/how-to/make-your-own-stylus
Posted by: bensonhaveracter.blogspot.com
0 Response to "How To Create Own Stylus Pen"
Post a Comment